
Setting up the piping for an Atlas Copco compressor (or any high-performance industrial system) isn't just about moving air from point A to point B; it’s about managing pressure drops, moisture, and long-term energy costs.
If you're looking for peak efficiency, here is the blueprint for a professional setup.
1. Material Selection: Aluminum vs. The Rest
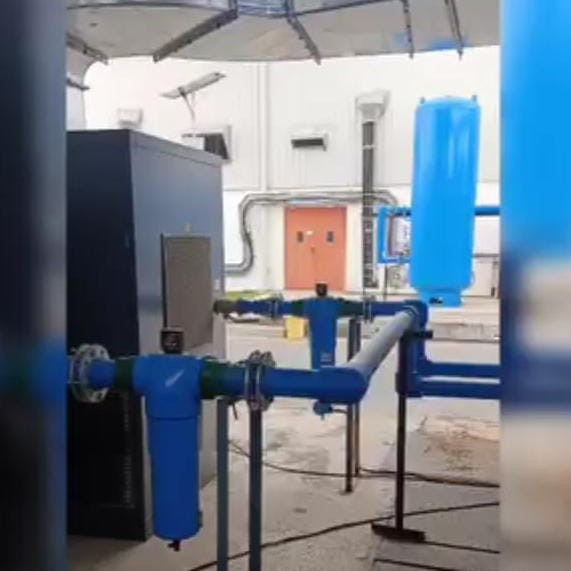
While many older shops use threaded iron, Atlas Copco generally recommends Aluminum piping (like their AIRnet system).
Aluminum: Lightweight, corrosion-resistant (no scale inside the pipes), and has a very low friction coefficient.
Stainless Steel: Great for high-pressure or oil-free "clean room" environments, but expensive.
Avoid PVC: Never use PVC for compressed air; it can become brittle and shatter under pressure, creating dangerous shrapnel.
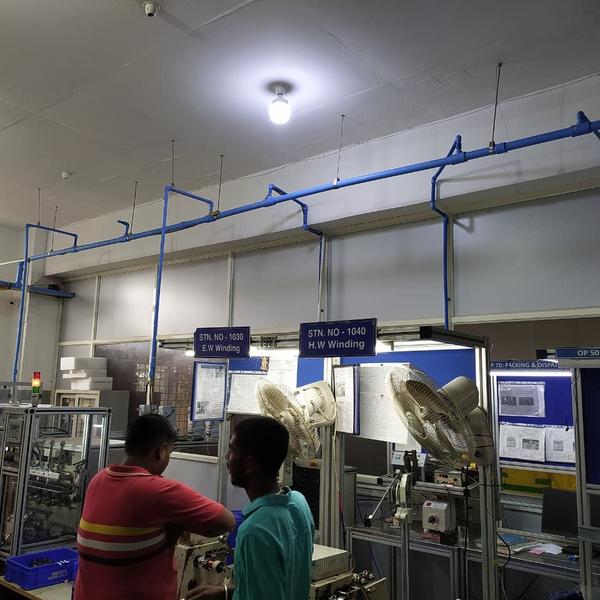
2. The "Ring Main" Layout
Instead of a single long line (dead-end system), use a Ring Main (loop) design. This allows the air to flow in two directions to reach any point of use, effectively doubling the flow capacity and reducing pressure drop.
3. Critical Installation Rules
To keep your compressor healthy and your tools dry, follow these "Golden Rules" of piping:
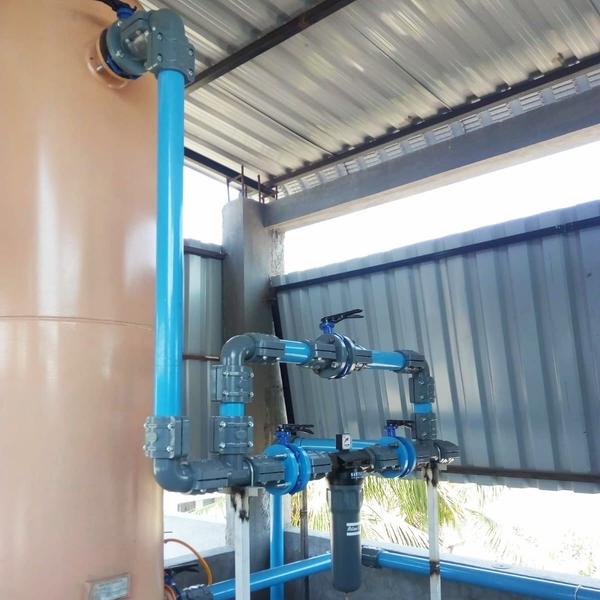
Slope the Lines: Pitch horizontal mains away from the compressor (approx. 1% slope) toward a drain point.
The "Swan Neck" (Gooseneck): Always take your drop-down lines from the top of the main pipe. This prevents liquid water traveling along the bottom of the main pipe from falling directly into your tools.
Drain Points: Install a moisture trap or an automatic drain at every low point in the system.
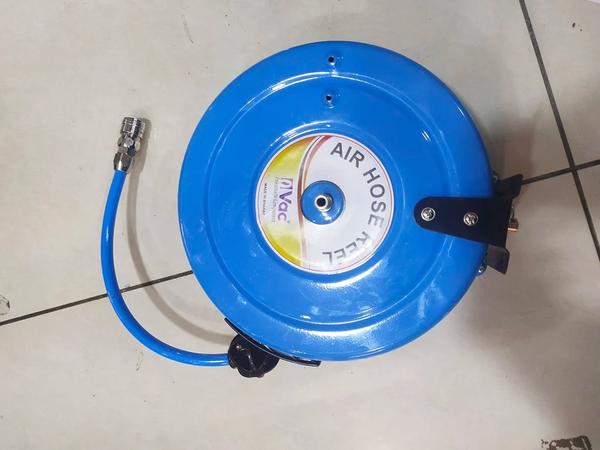
Vibration Isolation: Use a flexible high-pressure hose between the compressor outlet and the fixed piping to prevent vibration from cracking the joints.
4. Sizing Your Pipe
Sizing depends on your compressor’s CFM (Cubic Feet per Minute) and the total length of the run. As a general rule of thumb for a 100 PSI system: