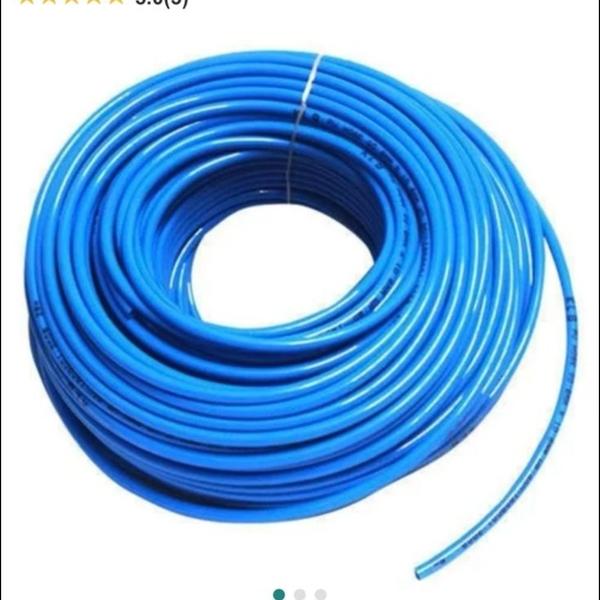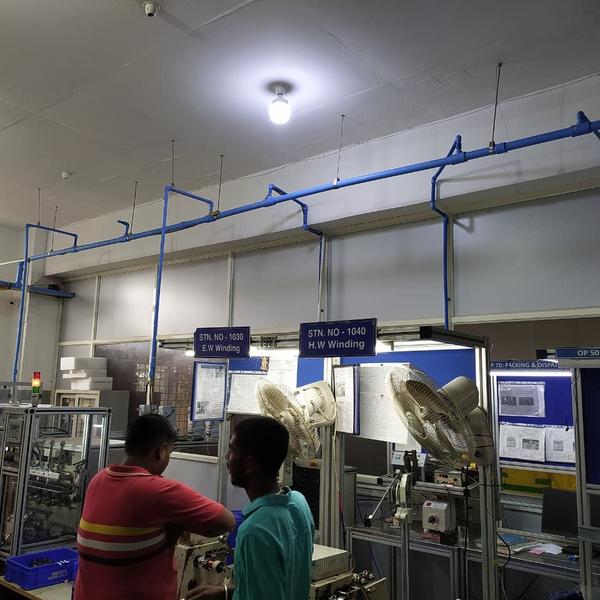

Installing Indutility PPR (Polypropylene Random Copolymer) piping systems requires a specific thermal fusion process to ensure a leak-proof, homogenous joint. Because PPR pipes are fused at a molecular level, the joint becomes as strong as the pipe itself.
Below is the professional guide for Indutility PPR installations.
🛠️ Essential Installation Tools
Fusion Welding Machine: Equipped with heating adapters (dies) matching the pipe diameter.
Pipe Cutter: Ratchet-style or wheel cutter for square, clean edges.
Cleaning Agent: Isopropyl alcohol and a lint-free cloth to remove grease or dust.
Marking Tool: A pencil or marker to indicate insertion depth.
📐 Step-by-Step Installation Process
1. Preparation & Cutting
Cut the pipe at a right angle (90^\circ) to its axis. Ensure the cut is clean and free of burrs. If the pipe end is deformed, trim it back to a perfectly circular section.
2. Cleaning & Marking
Clean both the pipe end and the fitting socket using a dry cloth or alcohol.
Mark the Depth: Using the table below, mark the insertion depth on the pipe. This ensures you don't push the pipe too far (which causes internal blockages) or not far enough (which causes weak joints).
3. Heating (The Fusion Phase)
Once the welding machine reaches 260°C, insert the pipe and fitting into the heating tools simultaneously.
Apply steady pressure until they reach the depth mark.
Do not twist the pipe or fitting while heating.
4. Joining & Cooling
Quickly remove the components from the heater and push the pipe into the fitting.
Alignment: You have a few seconds (the "Changeover" time) to make minor alignment adjustments.
Hold: Keep the joint steady for the "Holding" period.
Cool: Allow the joint to cool naturally. Never use water to speed up cooling, as this creates internal stress and brittle joints.
⏱️ Fusion Timing Reference (at 20°C ambient)
No